LightAutoML vs Titanic: 80% accuracy in several lines of code
In this tutorial, we are going to talk about how to automatically create ML models in several lines of code using the open-source framework LightAutoML for the Titanic Survival competition on Kaggle.
At the end of 2020 open-source python library LightAutoML was released by the AutoML Team at Sber AI Lab as an Automated Machine Learning (AutoML) framework. It is designed to be lightweight and efficient for various tasks (binary/multiclass classification and regression) on tabular datasets, which contains different types of features: numeric, categorical, dates, texts etc.
LightAutoML installation is pretty simple — pip install -U lightautoml
Official LightAutoML documentation
LightAutoML provides not only presets for end-to-end ML task solving but also the easy-to-use ML pipeline creation constructor, including data preprocessing elements, advanced feature generation, CV schemes (including nested CVs), hyperparameters tuning, different models, and composition building methods. It also gives the user an option to generate model training and profiling reports to check model results and find insights that are not obvious from initial dataset.
Below we are going to show how to solve Titanic — Machine Learning from Disaster competition using LightAutoML — from python libraries import up to saving final submission file.
Step 0.0. Super-short Titanic solution based on LightAutoML

The code above is available as a kernel here and scores 0.77990 on Kaggle public leaderboard in just 7 minutes and 12 lines. The main LightAutoML part is only 3 lines — from 8th to 10th.
Below we will discuss another kernel with a score of 0.79665, which is more structured like a real business ML solution and can be used as a template for your own projects.
Step 0.1. Import necessary libraries
At this step we import 3 standard python libraries, several libraries from the usual data scientist set, including numpy, pandas, and sklearn and 2 presets from LightAutoML — TabularAutoML and TabularUtilizedAutoML. We will discuss later what they can do and what the differences are between them.
# Standard python libraries
import os
import time
import re

# Installed libraries
import numpy as np
import pandas as pd
from sklearn.metrics import accuracy_score, f1_score
from sklearn.model_selection import train_test_split

# Imports from LightAutoML package
from lightautoml.automl.presets.tabular_presets import TabularAutoML, TabularUtilizedAutoML
from lightautoml.tasks import Task
Step 0.2. Datasets load
Now we need to load the train and test dataset and the submission file, which we should fill with the predicted class:
%%time

train_data = pd.read_csv('../input/titanic/train.csv')
train_data.head()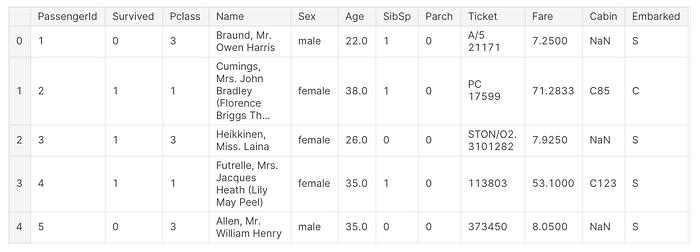
test_data = pd.read_csv('../input/titanic/test.csv')
test_data.head()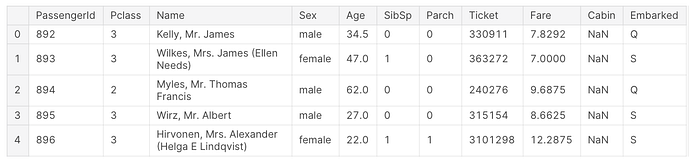
submission = pd.read_csv('../input/titanic/gender_submission.csv')
submission.head()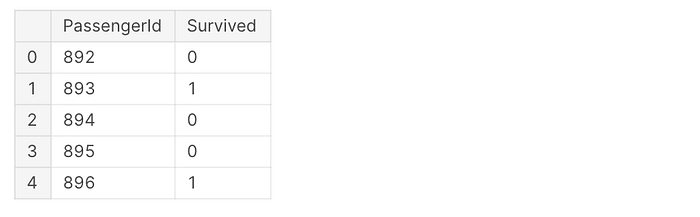
Step 0.3. Additional expert features creation block
The cell below shows some user feature preparations, which can be helpful for LightAutoML to separate positive and negative class objects. The logic behind these features is ticket type extraction for Ticket column, family size calculation, name feature cleaning etc.:
def get_title(name):
    title_search = re.search(' ([A-Za-z]+)\.', name)
    # If the title exists, extract and return it.
    if title_search:
        return title_search.group(1)
    return ""

def create_extra_features(data):
    data['Ticket_type'] = data['Ticket'].map(lambda x: x[0:3])
    data['Name_Words_Count'] = data['Name'].map(lambda x: len(x.split()))
    data['Has_Cabin'] = data["Cabin"].map(lambda x: 1 - int(type(x) == float))
    data['FamilySize'] = data['SibSp'] + data['Parch'] + 1

    data['CategoricalFare'] = pd.qcut(data['Fare'], 5).astype(str)
    data['CategoricalAge'] = pd.cut(data['Age'], 5).astype(str)

    data['Title'] = data['Name'].apply(get_title).replace(['Lady', 'Countess','Capt', 'Col','Don', 'Dr', 'Major', 'Rev', 'Sir', 'Jonkheer', 'Dona'], 'Rare')
    data['Title'] = data['Title'].replace('Mlle', 'Miss')
    data['Title'] = data['Title'].replace('Ms', 'Miss')
    data['Title'] = data['Title'].replace('Mme', 'Mrs')
    data['Title'] = data['Title'].map({"Mr": 1, "Miss": 2, "Mrs": 3, "Master": 4, "Rare": 5}).fillna(0)
    return data

train_data = create_extra_features(train_data)
test_data = create_extra_features(test_data)
Step 0.4. Data splitting for train-validation
To validate the models we are going to build, we need to split the dataset into train and validation parts:
%%time

tr_data, valid_data = train_test_split(train_data,
                                       test_size=0.2,
                                       stratify=data[‘Survived’],
                                       random_state=42)
logging.info(‘Parts sizes: tr_data = {}, valid_data = {}’
              .format(tr_data.shape, valid_data.shape))
= LightAutoML preset usage =
Step 1. Create Task object
Below this line we are ready to build the model for Survived target variable prediction. First of all, we setup the type of model we need using LightAutoML Task class object, there the valid values can be:
- ‘binary’ for binary classification
- ‘reg’ for regression and
- ‘multiclass’ for multiclass classification
As we have a binary classification competition, we setup Task object with ‘binary’ value with F1 metric to pay more attention for model predictions precision-recall balance:
def f1_metric(y_true, y_pred):
    return f1_score(y_true, (y_pred > 0.5).astype(int))

task = Task('binary', metric = f1_metric)
Step 2. Setup columns roles
Roles setup here is to set target column called Survived and drop column PassengerId from the dataset with the already used for expert features Name and Ticket columns:
%%time

roles = {'target': 'Survived',
         'drop': ['PassengerId', 'Name', 'Ticket']}
Step 3. Create AutoML model from preset
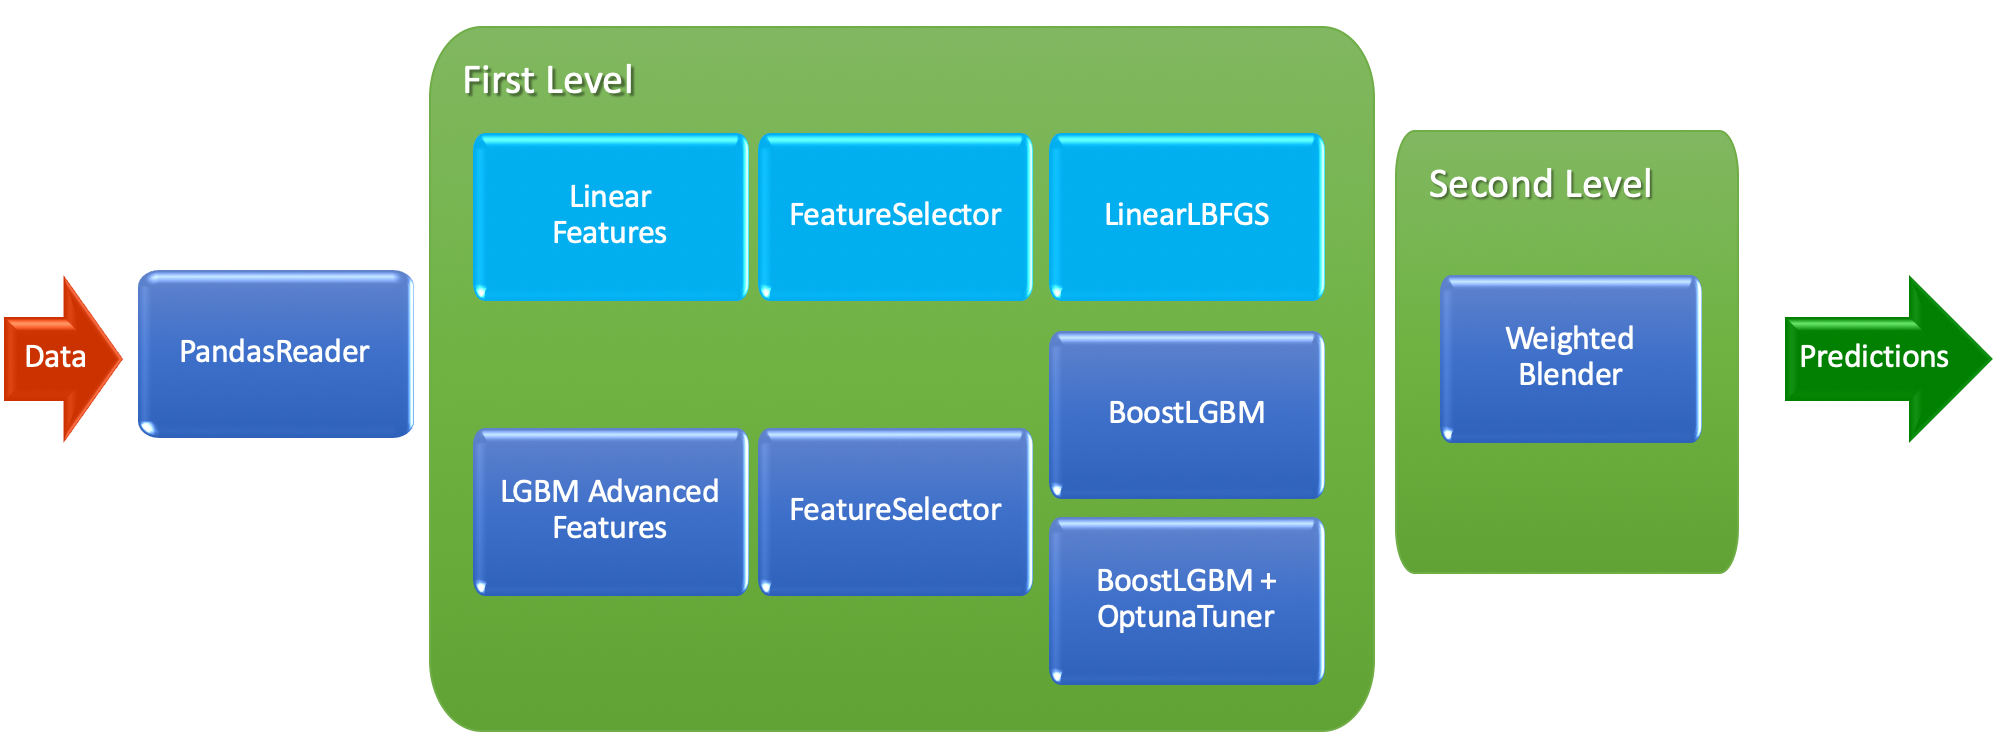
To develop first LightAutoML model with the structure above, we use the TabularAutoML preset. In code, it looks like this:
automl = TabularAutoML(task = task,
                       timeout = 600, # 600 seconds = 10 minutes
                       cpu_limit = 4, # Optimal for Kaggle kernels
                       general_params = {'use_algos': [['linear_l2',
                                         'lgb', 'lgb_tuned']]})
Base algorithms, which are currently available to be in general_params use_algos :
- Linear model (called
'linear_l2') - LightGBM model with expert params based on dataset (
'lgb') - LightGBM with tuned params using Optuna (
'lgb_tuned') - CatBoost model with expert params (
'cb') and - CatBoost with params from Optuna (
'cb_tuned')
As you can see, use_algos are lists in the list — this is the notation to create ML pipelines with as many levels of algorithms as you want. For example, [['linear_l2', 'lgb', 'cb'], ['lgb_tuned', 'cb']] stands for 3 algorithms on the first level and 2 on the second. After the second level will be fully trained, predictions from the 2 algorithms are weighted averaged to construct the final prediction. The full set of parameters (not only general ones), which can be provided for the TabularAutoML customization, can be found in its YAML config.
To fit our TabularAutoML preset model on the train part of the dataset, we use the code below:
oof_pred = automl.fit_predict(tr_data, roles = roles)As a result of fit_predict function, we receive Out-of-Fold (OOF for short) predictions. They are based on the inner CV of LightAutoML and can be used to calculate the model performance metrics on the train data.
Step 4. Predict to validation data and check scores
Now we have a trained model and we want to receive predictions for the validation data:
valid_pred = automl.predict(valid_data)And as we have the ground truth labels for this object let’s check how good we are:
def acc_score(y_true, y_pred):
    return accuracy_score(y_true, (y_pred > 0.5).astype(int))print('OOF acc: {}'.format(acc_score(tr_data['Survived'].values,      oof_pred.data[:, 0])))
print('VAL acc: {}'.format(acc_score(valid_data['Survived'].values, valid_pred.data[:, 0])))
The results are pretty good and stable — 84.4% accuracy for OOF and 83.2% for validation data in 2.5 minutes. But we want even more :)
Step 5. Create LightAutoML model with time utilization
Below we are going to create specific AutoML preset for TIMEOUT utilization (try to spend it as much as possible inside TIMEOUT boundary):
automl = TabularUtilizedAutoML(task = task,
                       timeout = 600, # 600 seconds = 10 minutes
                       cpu_limit = 4, # Optimal for Kaggle kernels
                       general_params = {'use_algos': [['linear_l2',
                                         'lgb', 'lgb_tuned']]})
It’s time to fit and get the better result:
oof_pred = automl.fit_predict(tr_data, roles = roles)As you can see, the API is the same for both presets so you can easily check each of them without much coding.
Step 6. Predict to validation data and check scores for utilized model
Prediction API for TabularUtilizedAutoML is also the same:
valid_pred = automl.predict(valid_data)And now we check scores:
print('OOF acc: {}'.format(acc_score(tr_data['Survived'].values,      oof_pred.data[:, 0])))
print('VAL acc: {}'.format(acc_score(valid_data['Survived'].values, valid_pred.data[:, 0])))
Wow! 85.5% for OOF and 82.7% for validation data in less than 9 minutes. The validation score is a little bit lower here, but we have only 179 passengers in it. OOF score increase is more valuable here as we have 712 passengers in its calculation.
Step 7. Retrain selected model on the full dataset and predict for the real test
Now we know what model to use to receive good results on the Titanic dataset, so it’s time to retrain it on the whole dataset:
automl = TabularUtilizedAutoML(task = task,
                       timeout = 600, # 600 seconds = 10 minutes
                       cpu_limit = 4, # Optimal for Kaggle kernels
                       general_params = {'use_algos': [['linear_l2',
                                         'lgb', 'lgb_tuned']]})
oof_pred = automl.fit_predict(train_data, roles = roles)
test_pred = automl.predict(test_data)
Step 8. Prepare submission for Kaggle
As we already loaded sample submission file, the only thing we need to do is to insert our predictions into it and save the file:
submission['Survived'] = (test_pred.data[:, 0] > 0.5).astype(int)
submission.to_csv('automl_utilized_600_f1_score.csv', index = False)
Step 9. Submit to Kaggle!!!
Our prepared submit scores 0.79665 on Kaggle public leaderbord.
Conclusion
In this tutorial we created a step-by-step solution for the Titanic Survival competition using LightAutoML — an open-source framework for fast, automatic ML model creation.
Full tutorial code is available in Kaggle kernels here (and here for super-short version of the solution) — just give it a try on this dataset or any other one you have. It can surprise you :)
Stay tuned for more examples!

